"Instagram" Style Filters
In addition to the color, B&W and monochrome toned filters there are 6 different Instagram style filters that can be applied to images. The effects of these filters are shown in the live view images and are applied to photos in print layouts and in animated GIFs. The standard filters can be replaced with user defined filters if different effects are required.
The filters can be selected using the touchscreen actions "Select filter 1" through "Select filter 2" or the using keyboard shortcuts below:
Shift+Ctrl+F - select filter 1
Shift+Ctrl+G - select filter 2
Shift+Ctrl+H - select filter 3
Shift+Ctrl+I - select filter 4
Shift+Ctrl+J - select filter 5
Shift+Ctrl+K - select filter 6
W - cycle through color, B&W, B&W (toned), filter 1, filter 2, filter 3, filter 4, filter 5, filter 6
User defined filters
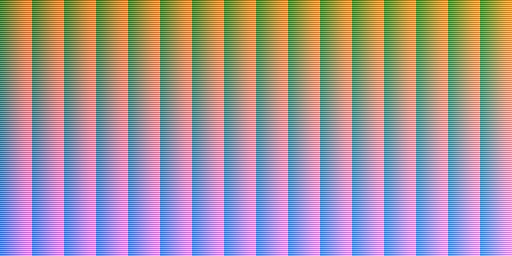
The filters use a color lookup table to map each color in the photo to a new color and optionally darken the corners to create a vignetting effect. The lookup table is read from a JPEG image 2048x1024 pixels in size with the same name as the filter e.g. filter1.jpg, filter2.jpg, filter3.jpg etc. Vignetting is applied if the filename ends with _vignette e.g. filter1_vignette.jpg.
Webcam Photobooth will look for a filter file in the current photo booth images folder first. If a filter file is not found in the current photo booth images folder it will use the default filter in the installation folder.
The simplest way to create a new JPEG color lookup file is to download the following Photoshop PSD file and edit it in Photoshop: https://breezesys.com/downloads/filter_setup.psd
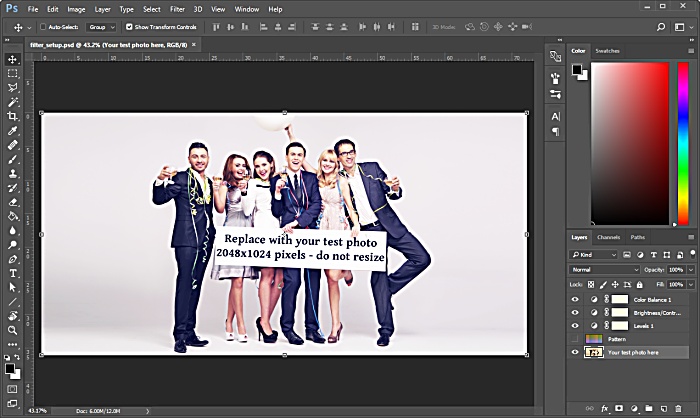
Then either use the test image in the "Your test photo here" layer or replace it with your own test photo. Add adjustment layers to modify the output as required. The adjustment layers can apply any adjustment that is applied to single pixels (e.g. level, curves, contrast, brightness, color fill, color balance etc.). Adjustments that apply to groups of pixels (e.g. sharpening, masking, blur, noise filters etc.) can't be used.
When you are happy with the changes, turn the visibility of the "Pattern" layer on:
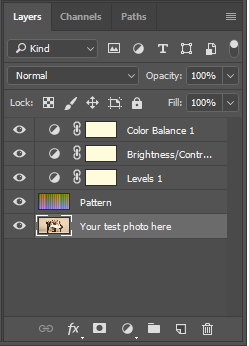
Then save the file as a JPEG named filter1.jpg, filter2.jpg, filter3.jpg, filter4.jpg, filter5.jpg or filter1.jpg and save it in the current photo booth images folder. Append _vignette to the filename to darken the corners of the images.
Do not resize the filter_setup.psd image as this will prevent the filter from working.
The JPEG filter file should be 2048x1024 pixels in size and look something like this: