First setup the printer before designing the page layout as the paper size and other settings may affect the layout.
Next decide on how the images should be arranged on each sheet of paper so that they can be cut and bound easily. The example in this help file uses a Sony UP-DR200 dye-sublimation printer loaded with 6" x 4" paper and set to print 6" x 2" strips. Each sheet of paper will contain two pages for the flip book which are later cut in half using a stack cutter or a heavy duty guillotine. The example flip book will contain 24 pages and so we will need to print 12 printer pages each containing 2 flip book pages. After printing the 12 pages are stacked together and cut using a stack cutter or a heavy duty guillotine to give 2 piles of 12 flip book pages. These piles are then stacked together in the right order, a front and back cover is added and stapled together to make the flip book. As a finishing touch book binding tape is wrapped around the spine to cover up the staple and the ends of the pages.
To make it easier to cut and bind the book the pages will be arranged so that the images are on the outside and the spine of the book is on the inside. This means that if the pages aren't cut exactly any errors will be on the binding side and won't affect the flipping of the pages. To do this we set the image position to 'outer'.

Settings used to layout flip book pages
The page layout is setup using the output section of the properties dialog. This can be displayed by clicking on the "Setup..." button in the main window and then clicking on the "Output" tab:

The first step is to set the number of pages and the number of rows and columns for the page layout. The example used in this help file prints 24 page flip books with two pages laid out on twelve 6" x 2" prints. To do this we set the number of pages to 12, the number of rows to 1 and the number of columns to 2.
Note: Flip Book Photobooth can use mm or inches to specify the page layout. It uses whichever is the default setting for the computer (this can be set via the "Regional and Language Options" from the Windows Control Panel). The examples in this help file use US units. Using metric or US units does not affect the accuracy of the page layout.
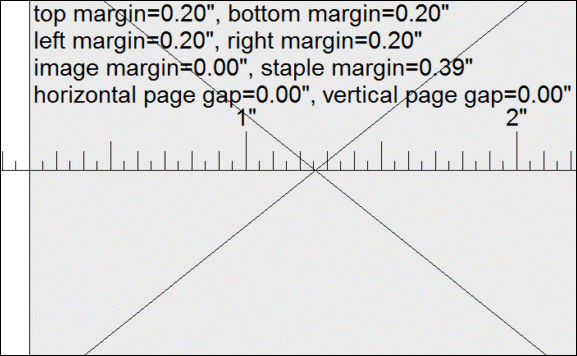
At this stage we don't know the precise settings to use for the various page margins. The easiest way to determine the correct margin settings is to set them to an initial value that is too large (e.g. 0.2 inch), print a test page and then adjust the margins to suit the printer. Press the "Print test page" button to print a test page showing the initial settings:

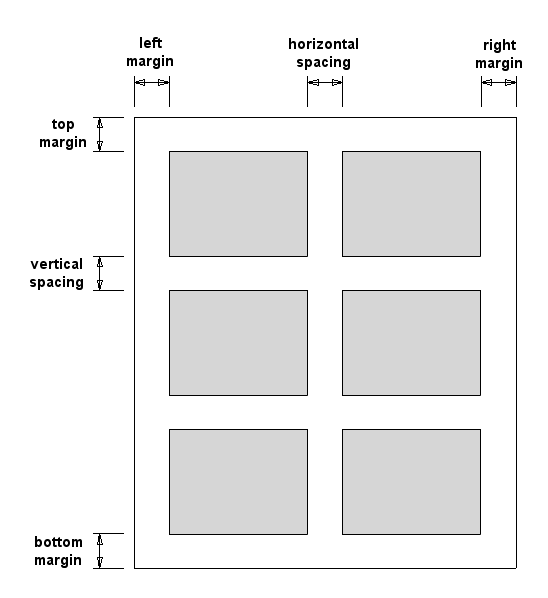
We need to adjust the top, bottom, left and right margins so that images fit the printable area of the printer.
The area around the left margin where the horizontal ruler meets the edge of the page is shown larger below:

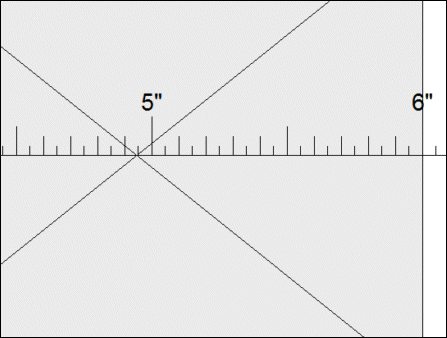
From this we can see that the printer starts printing at about 0.1". The area around the right margin where the horizontal ruler meets the edge of the page is shown larger below:

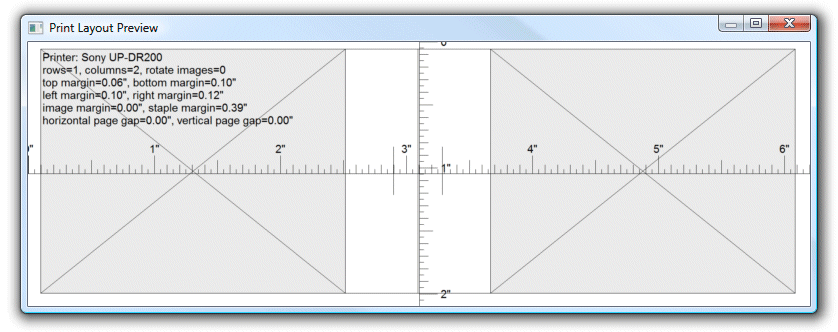
From this we can see that the printer prints to 6.1" giving a total printed width of 6 inches (the right extent of 6.1" less the left extent of 0.1"). Therefore we need to set the left margin to 0.1" and the right margin to 0.1". We do the same thing for the top and bottom margins and can check the so far on screen by pressing the "Display test page" button:

The layout looks reasonable and so the next stage is to print another test page to check the settings and make any minor adjustments to the margins.
If the layout so far is OK it is probably a good idea to save the settings before moving on to the next stage. To do this click on the "OK" button and save the settings to disk by selecting "Save settings..." from the File menu.